铸造你的第一个 Jetton
欢迎,开发者!很高兴你能来到这里。👋
在这篇文章中,我们将告诉你如何在TON上创建你的第一个可替代代币(Jetton)。
为了铸造Jettons,我们将使用TON Minter浏览器服务。
📖 你将学到什么
在这篇文章中,你将学会如何:
- 使用浏览器部署Jetton
- 自定义你的代币
- 管理和使用你的代币
- 编辑代币参数
📌 在开始之前准备
~0.5 TON 对这个教程来说绝对足够了。
🚀 开始吧!
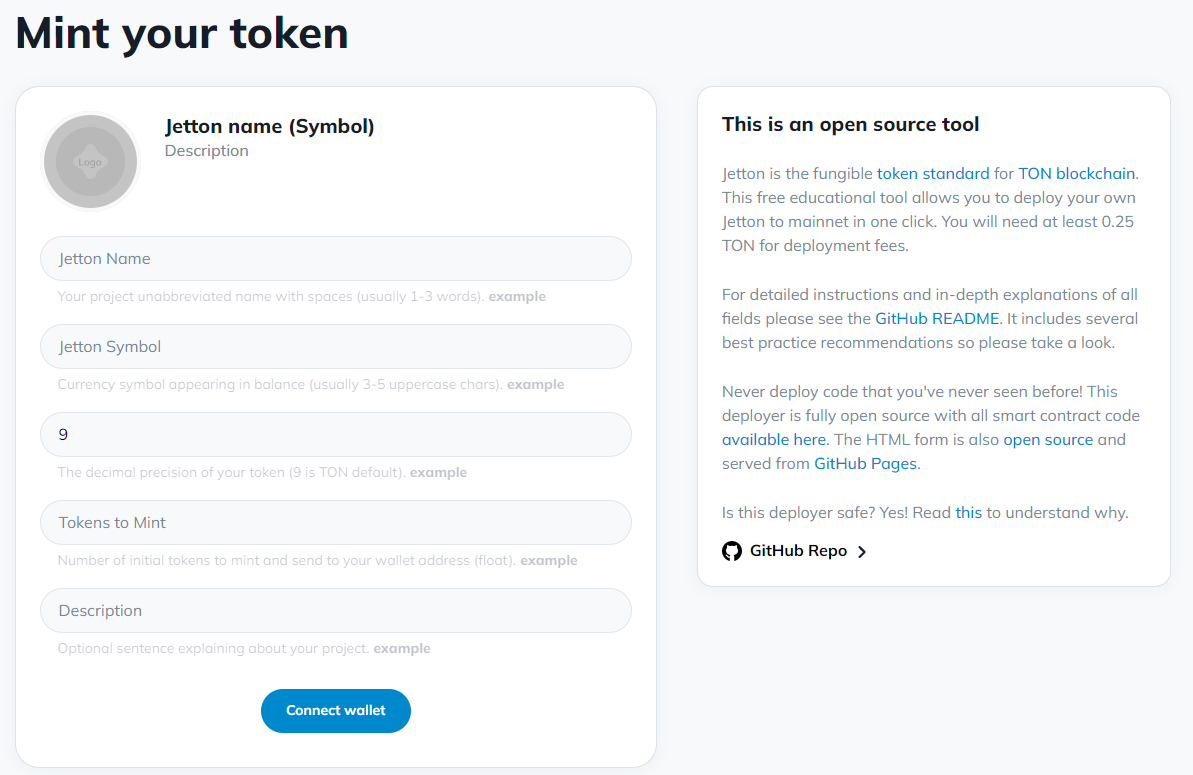
使用你的网络浏览器打开服务TON Minter。

使用浏览器部署 Jetton
连接钱包
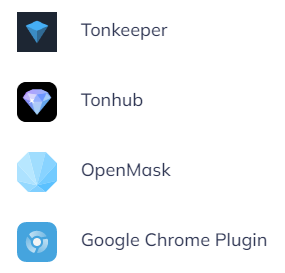
点击Connect Wallet按钮连接你的Tonhub钱包或Chrome扩展或以下的其他钱包。

在移动钱包(Tonhub等)扫描二维码或通过Chrome扩展登录到钱包。
填写相关信息
- 名称(通常1-3个词)。
- 符号(通常3-5个大写字符)。
- 数量(例如,1,000,000)。
- 代币描述(可选)。
代币标志URL(可选)
如果你想拥有一个吸引人的Jetton代币,你需要一个存放在某处的漂亮标志。例如:
You can easily find out about url placement of the logo in the repository in paragraph "Where is this metadata stored".
- 链上。
- 链下IPFS。
- 链下网站。 :::
如何创建你的标志URL?
- 准备一个256x256像素的代币标志PNG图片,带有透明背景。
- 获取你的标志链接。一个好的解决方案是GitHub页面。我们就用它吧。
- 创建一个名为
website的新公共代码库。 - 上传你准备好的图片到git并启用
GitHub页面。 - 如果你有自己的域名,那么最好使用
.org而不是github.io。
💸 发送Jettons
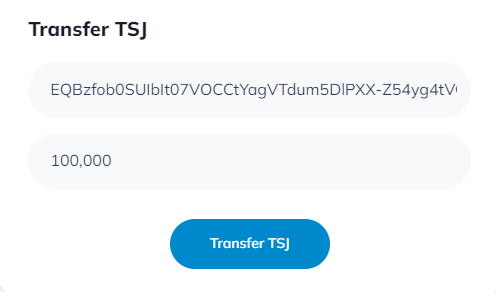
在屏幕的右侧,你可以发送代币到多货币钱包,如Tonkeeper或Tonhub。

You always also burn your Jettons to reduce their amount.
:::
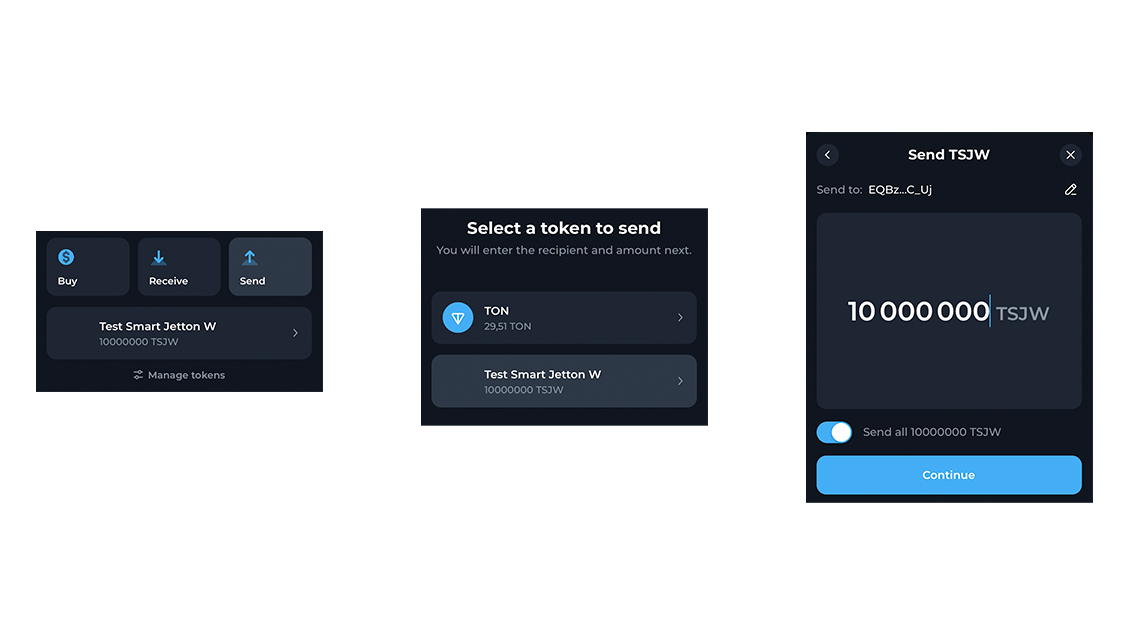
📱 使用 Tonkeeper 从手机发送代币
必要条件:
- 你的余额上必须已经有代币,才能发送它们。
- 必须有至少0.1 Toncoin来支付交易费。
分步指南
然后回到你的代币,设置要发送的数量,并输入接收者地址。

📚 在网站上使用代币
通过在网站顶端的搜索框输入代币地址,你可以访问并使用所有者权限来管理。
The address can be found on the right side if you are already in the owner panel, or you can find the token address when receiving an airdrop.

✏️ Jetton(代币)定制
使用FunC语言,你可以根据你的喜好更改代币的行为。
要进行任何更改,请从这里开始:
开发者的分步指南
- 确保你有tonstarter-contracts库中的所有"依赖和要求"。
- 克隆minter-contract库并重命名该项目。
- 要安装,你需要在根目录下打开一个终端并运行:
- npm
- Yarn
- pnpm
npm install
yarn install
pnpm install
以同样的方式编辑原始智能合约文件,所有合约文件都在
contracts/*.fc使用下面的命令构建项目:
- npm
- Yarn
- pnpm
npm run build
yarn build
pnpm run build
构建结果将描述创建所需文件的过程,以及查找智能合约的过程。
阅读控制台,那里有很多提示!
- 你可以使用以下命令测试你的更改:
- npm
- Yarn
- pnpm
npm run test
yarn run test
pnpm run test
- 通过更改
build/jetton-minter.deploy.ts中的JettonParams对象,编辑名称和其它代币元数据。
// This is example data - Modify these params for your own jetton!
// - Data is stored on-chain (except for the image data itself)
// - Owner should usually be the deploying wallet's address.

const jettonParams = {
 owner: Address.parse("EQD4gS-Nj2Gjr2FYtg-s3fXUvjzKbzHGZ5_1Xe_V0-GCp0p2"),
 name: "MyJetton",
 symbol: "JET1",
 image: "https://www.linkpicture.com/q/download_183.png", // Image url
 description: "My jetton",
};
- 使用以下命令部署一个代币:
- npm
- Yarn
- pnpm
npm run deploy
yarn deploy
pnpm run deploy
运行你的项目的结果:
```js
> @ton-defi.org/jetton-deployer-contracts@0.0.2 deploy
> ts-node ./build/_deploy.ts

=================================================================
Deploy script running, let's find some contracts to deploy..

* We are working with 'mainnet'

* Config file '.env' found and will be used for deployment!
 - Wallet address used to deploy from is: YOUR-ADDRESS
 - Wallet balance is YOUR-BALANCE TON, which will be used for gas

* Found root contract 'build/jetton-minter.deploy.ts - let's deploy it':
 - Based on your init code+data, your new contract address is: YOUR-ADDRESS
 - Let's deploy the contract on-chain..
 - Deploy transaction sent successfully
 - Block explorer link: https://tonwhales.com/explorer/address/YOUR-ADDRESS
 - Waiting up to 20 seconds to check if the contract was actually deployed..
 - SUCCESS! Contract deployed successfully to address: YOUR-ADDRESS
 - New contract balance is now YOUR-BALANCE TON, make sure it has enough to pay rent
 - Running a post deployment test:
{
  name: 'MyJetton',
  description: 'My jetton',
  image: 'https://www.linkpicture.com/q/download_183.png',
  symbol: 'JET1'
}
```
接下来
如果你想更深入地了解,请阅读Tal Kol的这篇文章: